How to Transfer Photos from iPhone to PC [4 Proven Ways]
![How to Transfer Photos from iPhone to PC [4 Proven Ways]](https://i0.wp.com/techktimes.com/wp-content/uploads/2023/09/1_11zon-83.jpg?fit=824%2C445&ssl=1)
Mobile phones are essential tools for capturing precious moments, and the photos they store hold great significance. But there are too many photos, and the phone storage is not enough. It is very important to transfer photos from iPhone to computer. It can free up space and make backups safe.
Now let’s explore these 4 methods together, find safe storage for photos, and free up space on your phone.
Method 1 :Transfer Photos from iPhone to Windows PC via FonePaw DoTrans
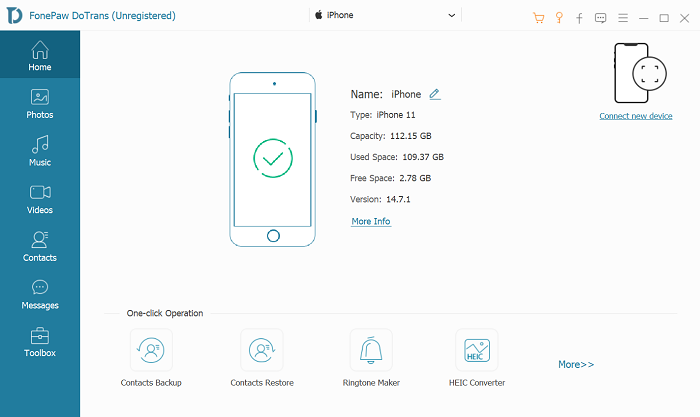
FonePaw DoTrans is a professional data transfer tool for Windows users. It can quickly transfer iPhone photos, contacts, text messages, music, etc. to the computer. Simple operation and powerful functions.
Step 1:Download and Install FonePaw DoTrans
Visit the FonePaw official website and download the DoTrans tool installer for your Windows version. Double-click the installer and follow the prompts to install.
Step 2:Connect iOS Devices to PC
Initially, you need to connect your iPhone/iPad to your PC with the help of a USB cable. Next, launch the DoTrans app on your desktop.
After connecting your iOS device, a notification may pop up asking you if you want to trust this computer. In order to establish a connection with DoTrans, you need to click “Trust” and enter your iOS unlock password

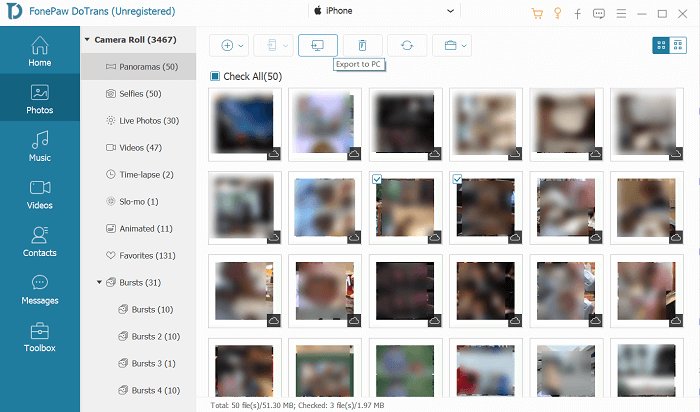
Step 3:Select the “Photos” option+ Click the “Export to PC
On the main interface of FonePaw DoTrans, you will see different types of data options. Select the “Photos” option, which will make the tool ready to transfer your photos.Select the photos you want to transfer, either individually or multiple photos at once.
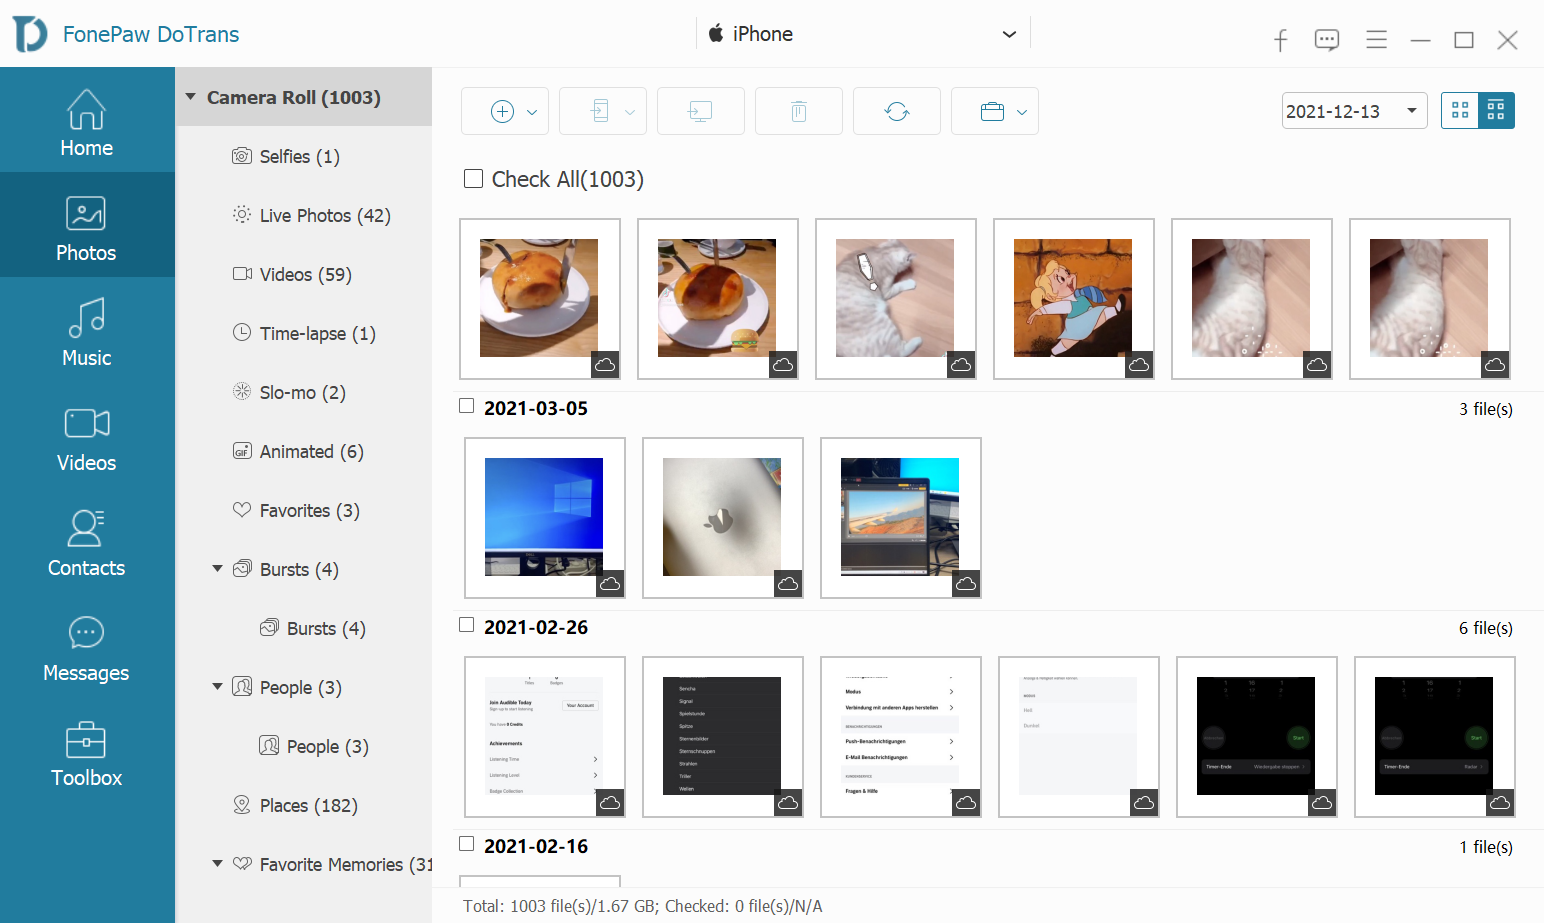
Step 4:Export photos to computer
Click the “Export to PC” button to copy photos from iPhone to PC instantly.
Tips:For Mac users, you can also use FonePaw iOS Transfer to achieve similar operations.
With these simple steps, you can utilize the FonePaw DoTrans tool to transfer photos from your iPhone to your Windows computer. Not only is this method easy and fast, it’s an ideal way to back up and manage your precious photos.
Pros and Cons of FonePaw DoTrans
Pros:
- Intuitive User Interface: FonePaw DoTrans offers an intuitive and easy-to-understand user interface that makes data transfer easy. Easy to operate even for less tech-savvy users.
- Transfer of Multiple Data Types: Beyond photos, FonePaw DoTrans offers a comprehensive solution for transferring various data types. This includes contacts, messages, music, videos, and more. This versatility allows for streamlined management of your iPhone’s diverse content.
- Stability and Reliability: Also, This tool excels in speed, ensuring that your photo transfer process is swift and efficient. Large photo collections can be moved from your iPhone to your Windows computer in a relatively short amount of time.
- Backup and Management Features: In addition to transfer, FonePaw DoTrans also provides backup and management functions, allowing you to better manage your iPhone data and ensure data security.
- Strong Device Compatibility:It exhibits robust compatibility with various devices. It accommodates iPhones running different iOS versions and is adaptable to Windows 11, 10, 8, also with iOS 16 and Android 12, and 7, ensuring a wide user base can benefit from its features.
Cons:
- Requires Download and Installation
- Some Advanced Features May Require Payment
Method 2:Transfer iPhone Photos to Windows & Mac with iCloud Photos
iCloud Photos is a cloud photo storage and synchronization service provided by Apple that securely stores and synchronizes photos. Whether you use a Windows PC or Mac, you can easily transfer photos and enjoy a smooth cloud experience.
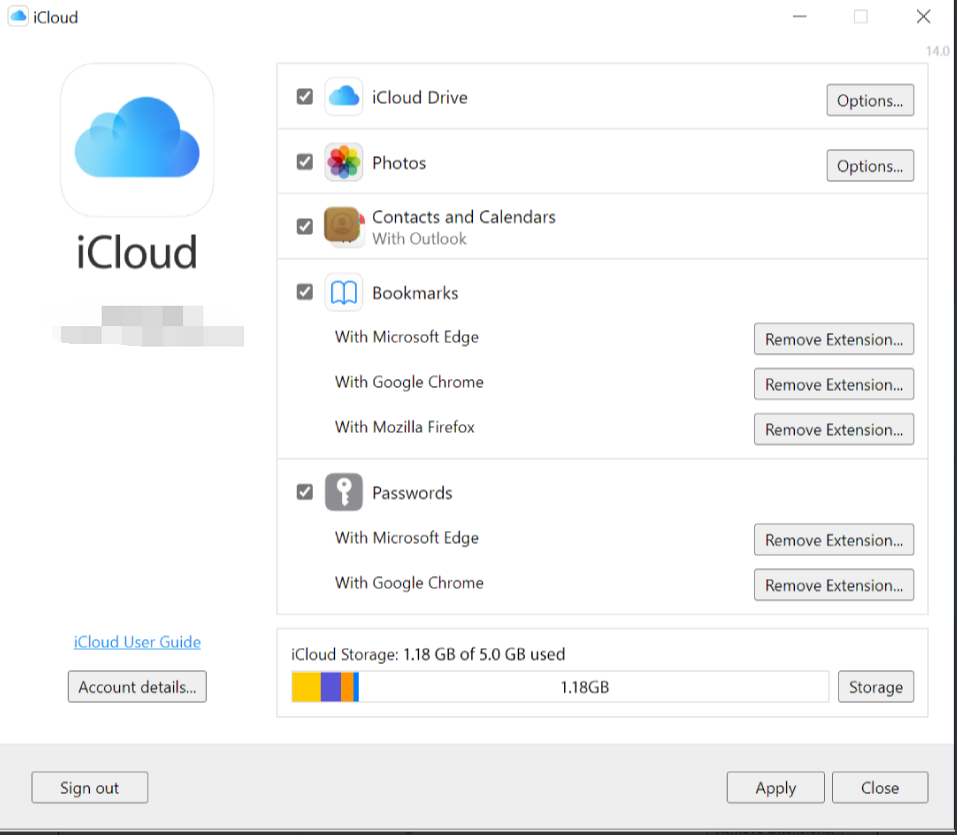
Step 1:Make sure iCloud Photos is enabled
On your iPhone, open the Settings app and tap your Apple ID to enter the iCloud options. Make sure the Photos switch is on to enable iCloud Photos.

Step 2:Sign in to your iCloud account
On a Windows PC, open a browser, visit the iCloud official website and sign in with your Apple ID. On a Mac, you can log into your iCloud account directly in System Preferences.
Step 3:Select and download photos
In iCloud Photos on the browser, you’ll see your photo library. Select the photos you want to transfer and click the “Download” button in the upper right corner.
Step 4:Transfer to computer
The downloaded photos will be saved on your computer in .zip format. Unzip this file and you will have access to your photos.

Pros and Cons of iCloud Photos
Pros:
- Convenient Cloud Storage: iCloud Photos offers a convenient cloud storage solution, allowing your photos to be accessible at all times. Also, You can log in to your iCloud account from any device and browse or share your photos.
Cons:
- Stable Internet connection requirement: Using iCloud Photos requires a stable Internet connection in order to access and transfer photos. In the case of poor or unstable network, the transmission speed and experience may be affected.
- Storage limitations: Free iCloud storage is limited and may become insufficient when storing large amounts of photos. Also, If you need more storage space, you may want to consider purchasing a paid iCloud storage plan.
- Operating system compatibility: Although iCloud Photos provides cross-platform transfer, it is still subject to operating system compatibility. Also, If your device is running an older operating system version, you may not be able to enjoy full functionality.
Through iCloud Photos, managing and transferring photos becomes more effortless. However, you need to take into account a stable internet connection and potential storage limitations to make informed decisions when using this method.
Method 3: iPhone Photos Transfer to Windows PC Using USB Cable
This method is for Windows PC users, it uses a USB cable to connect your iPhone directly to the computer. You can transfer photos from iPhone to computer with simple file operations.
Usage Steps:
- Connect Your Device: Use a USB cable to connect your iPhone to a Windows PC. Ensure your iPhone is unlocked and trusts the computer.
- Access Photo Folder: In Windows File Explorer, locate your iPhone and navigate to the photo folder.

- Copy and Paste: Select the photos you want to transfer, right-click and choose “Copy,” then paste them into the target folder.
Method 4: iPhone Photos Transfer to Mac Using USB Cable
You can use the Photos app to easily import and manage iPhone photos on your Mac, replacing iPhoto and Aperture. It’s also handy for transferring photos between your iPhone and Mac. Here’s how.
Usage Steps:
- Connect Your iPhone to Your Mac: Use a USB cable to connect your iPhone to your Mac.
- Open the Photos App: However, On your Mac, open the Photos app. The Import screen will automatically appear.
- Manual Selection: Click “Import Selected” to manually select the specific photos you want to transfer.
- Transfer All Photos: Alternatively, you can click “Import All New Items” to transfer all your photos to your Mac.

Pros and Cons of using USB Cable:
Here are the advantages and disadvantages of using a USB cable for photo transfer.
Pros
- No extra software needed, operates directly within the OS. Suitable for basic file operation skills.
Cons
- Slow transfer speed: Also, Transferring photos using a USB cable can be slow, especially when transferring a large number of photos. This may require some patience.
- Requires manual management of photos: You need to manually select, copy, and paste photos, which may require more time and operations.
Whether you’re a Windows PC user or a Mac user, there are ways to transfer photos with ease. However, Method 3 Use a USB data cable to connect iPhone and Windows PC, and realize photo transfer through simple file operations.
Conclusion
In the array of methods, FonePaw DoTrans shines for transferring iPhone photos to Windows. It’s user-friendly, efficient, and adaptable. Also, Embrace DoTrans for smoother photo management and storage optimization, considering its modest cost for advanced features. Simplify and enhance your photo transfer with FonePaw DoTrans.

